Introduction
Many a times we have disturbances on our radio, and we are unable to figure out the cause of the problem, and so it remains unresolved. Often, we just blame it on a bad reception without checking whether the device is properly plugged in and whether or not there is a short circuit with the coax. Other times, we end up seeking help from an external source and end up paying an arm and a leg for something that is simple which we could have easily solved by ourselves.
This guide below should help you to figure out how to check for continuity using a multimeter. Even if you have manually checked the wires by yourself; it is possible you may have missed out something on the system that could be causing a short circuit. Unless you use a proper multimeter, you will not be able to pinpoint the exact problem, and it would just resurface again and again.
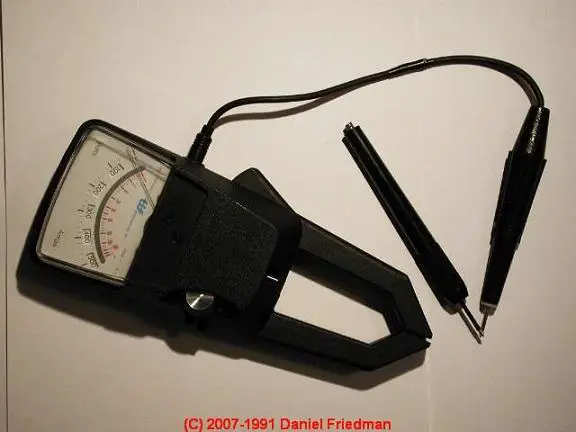
When there are problems with the CB the resistance should be the first and the foremost thing that should be checked and that too, with the multimeter. A multimeter is a device that is extremely useful, and a must-have for most people who own CB radios. It is quite easy to get, from any hardware store and costs only about $20.
The multimeter can be used to check and measure volts from some electric equipment and components, resistance and the amperage. It is a great device to have at home as it is inexpensive and very useful. To understand how to check for continuity using a multimeter, we must first understand the concept of resistance vs. continuity. An electrical circuit that has no resistance means there are no circuit and no short. A circuit that has a total resistance, on the other hand, means the circuit is completely open, and there is no current that can pass through it. Thus, in simpler words, to explain resistance vs. continuity it can be said:
- The circuit with no resistance means there is no short and it is complete.
- The circuit with complete resistance means it is completely an open circuit where no current can pass.
Steps for checking the continuity using a multimeter
Step 1: Testing for continuity system-wide on the hotline
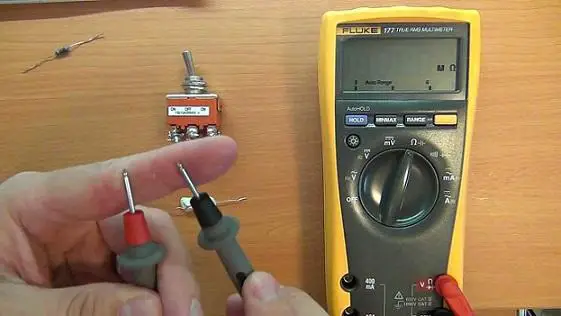
Once you have the multimeter make sure you have read the complete instructions on it, as every multimeter is different. You need to start by checking the hot lead of the coax table first for continuity. You need to make sure that you touch the tip of the antenna that is metallic and tunable. However, if your antenna has a stainless steel whip, then any part or surface of the whip can be tested on.
Step 2: Testing for the continuity on the ground that is system-wide
Now that you have checked the tip of the antenna, you must check for resistance or for the continuity whether it is there between the ground channel of the connection of the coax which is used for plugging into the radio and also checks for the ground battery terminal that is black.
Step 3: Testing for resistance that is system-wide between hot and ground
Now check for an open circuit, whether it is there between the ground channel of the coax which is connected to the radio and also there on the top of the antenna using the multimeter. The results should show that there is total resistance and absolutely no continuity as these should be two different circuits. In case the results show that there is continuity, it means that there exists a short in the system where the hotlines are connected in the ground, and this would probably need some fixing up to do.
Possible troubleshooting problems
While checking for the continuity, in case you do find that there is a short along the individual ground or the hotlines, or if there is some continuity along the hot and ground lines, this means there is a problem that needs to be fixed. This would require your multimeter to check each circuit from every possible corner. You would be required to check from the coax to the end, from the coax end to the mount as well as from the mount all the way to the ground.
This will help to determine where exactly the short circuit is happening so that you can isolate the problem and fix it easily. The only way to find out where the short circuit is happening is to check every nook and corner of the coax, thoroughly. Once you have figured out where the problem is originating from, then you can also figure out how to solve the problem.
For example, if there is a problem with the mount and the coax connection leading to it, then you can have a short stud mount where the electrical current is probably breaking, and this means there is a problem with the proper connection between the mount and the chassis of the vehicle.
How to solve the continuity problems
The first step in solving the continuity problems is to find out whether this problem even exists. Once you have figured how that there is a problem, then you must use your multimeter to figure out where this continuity problem is originating from and this will help solve your problem. Once the area of the problem is identified, it can easily be fixed with whatever that needs to be done with it.
Conclusion
Using a multimeter can surely solve so many problems and provide the right solution. Owning a multimeter is also a great idea since there is no need to use any external help and as long as you have read the instruction manual and done your research, you can easily fix all your problems yourself.